
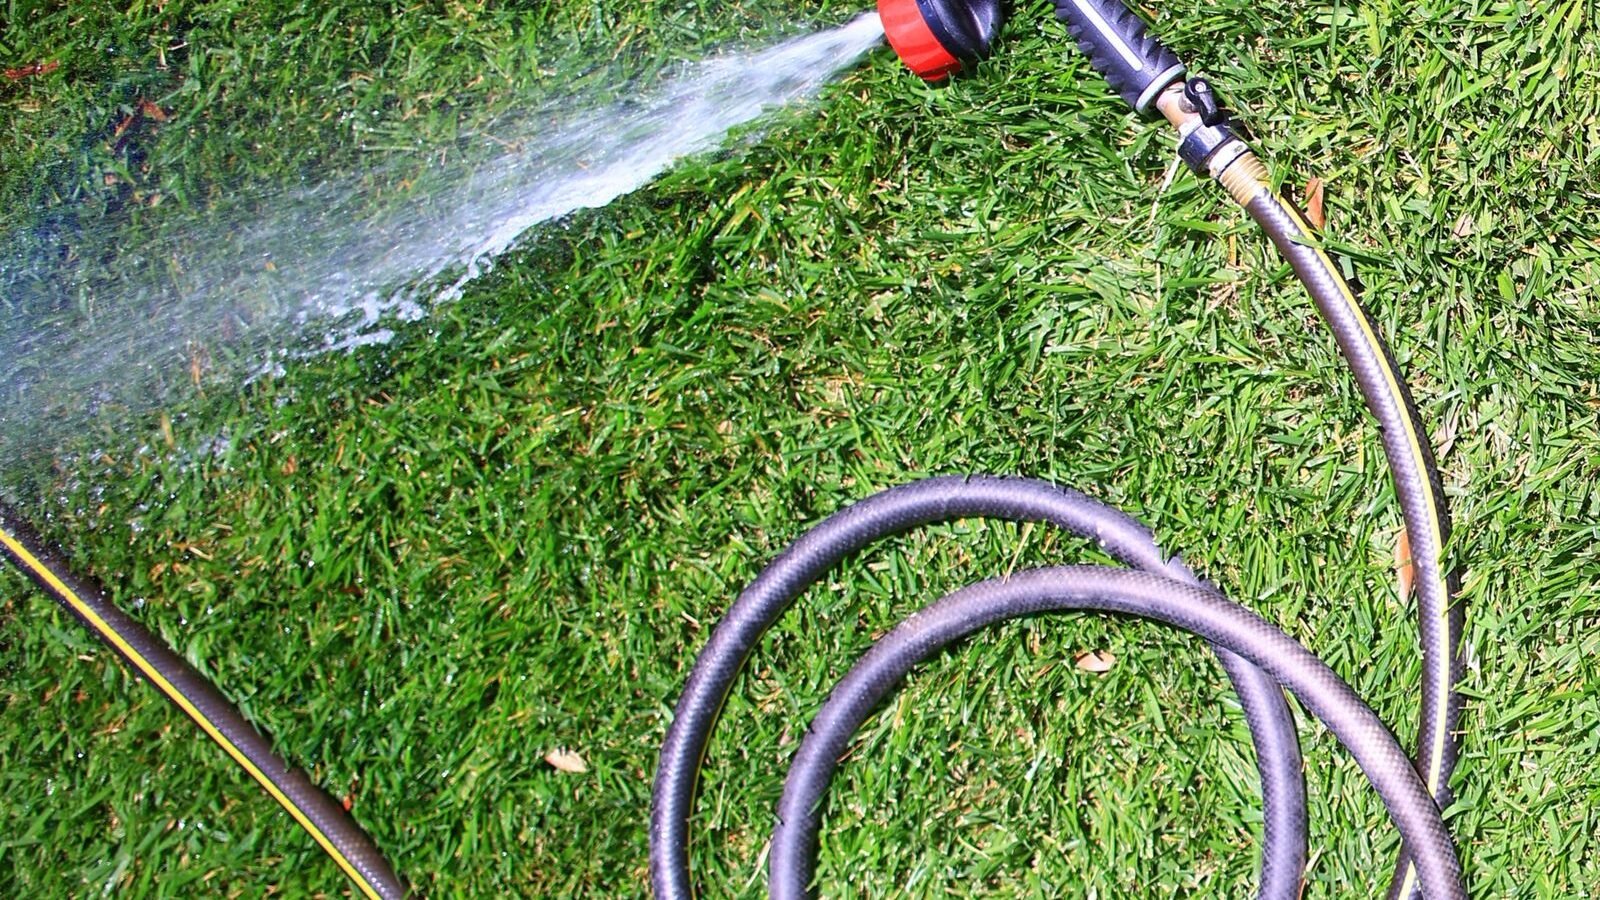
Drip irrigation delivers water slowly through small tubes and emitters right to the roots, so far less is lost to evaporation and runoff. A basic system is: faucet → backflow preventer → filter → pressure regulator → ½-inch mainline → emitters or drip line, ideally with a timer. A beginner kit can be installed in an afternoon with no digging.
Watering with a sprinkler is a bit like watering the sidewalk, the leaves and the air, and hoping some of it reaches the roots. On a hot, windy day a lot of that water simply evaporates. Drip irrigation flips the idea around: instead of spraying water over everything, it drips it exactly where the plant drinks.
The payoff is real. The US Environmental Protection Agency’s WaterSense program notes that drip irrigation can use 20 to 50 percent less water than conventional sprinklers. Your plants also tend to be healthier, because leaves stay dry (fewer fungal diseases) and soil stays evenly moist instead of swinging between soaked and parched.
Is drip irrigation right for you?
Drip is ideal for:
- Raised beds and vegetable gardens
- Flower borders, shrubs and hedges
- Containers and hanging baskets on a patio
- Anyone with watering restrictions or high water bills
- Anyone who travels and wants the garden to water itself
It is less suited to lawns, where in-ground sprinklers or rotors are usually better.
The parts of a drip system, in plain English
- Backflow preventer. Stops garden water from flowing back into your household water. Often required by code, and cheap.
- Filter. Catches tiny particles that would clog emitters. Do not skip it.
- Pressure regulator. Household pressure is too high for drip tubing. A regulator drops it to around 25 psi so fittings do not pop off.
- Hose adapter. Connects the system to your outdoor faucet or a garden hose.
- ½-inch mainline tubing. The main “pipe” that runs along your beds.
- ¼-inch tubing. Small branch lines from the mainline to individual plants or pots.
- Emitters. Drippers that release water at a set rate, usually 0.5, 1 or 2 gallons per hour (gph). Some are adjustable.
- Drip line or soaker hose (optional). Tubing with emitters built in every 6 to 12 inches, ideal for rows and raised beds.
- End caps and stakes. Close off lines and hold tubing in place.
- Timer. A battery hose timer turns the whole thing into an automatic system.
Order matters at the faucet: timer first (if using one), then backflow preventer, then filter, then pressure regulator, then the tubing. Most kits include the right order in the instructions, but it is the step people most often get wrong.
How to install a drip kit, step by step
- Sketch your beds and measure how far each one is from the faucet. This tells you how much mainline you need.
- Attach the head assembly to the faucet: timer, backflow preventer, filter, pressure regulator and hose adapter.
- Lay the ½-inch mainline along the beds. Leave it in the sun for an hour first so it softens and uncoils easily.
- Hold it down with stakes every few feet.
- Close the far end with an end cap or figure-8 fold.
- Punch holes in the mainline with the hole punch from the kit wherever you want an emitter or a ¼-inch branch line.
- Add emitters: one or two per small plant, several around larger shrubs, or run drip line along rows of vegetables.
- Turn on the water and check every emitter. Fix leaks and replace any that do not drip.
- Cover tubing with mulch to protect it from sun and keep it out of sight.
How long should you run drip irrigation?
It depends on your emitters, soil and weather, but here is a simple way to start. Most vegetables want about 1 inch of water a week, which is roughly 0.6 gallons per square foot.
- A 4 x 8 foot raised bed (32 square feet) needs about 20 gallons a week.
- With drip line that delivers about 0.5 gallons per hour per foot along 4 runs of 8 feet (32 feet of line = about 16 gph), that is roughly 75 minutes a week, split into two or three sessions.
Then use your finger: soil should feel moist, not soggy, 2 to 3 inches down the day after watering. Run it longer in heat waves, less in cool or rainy weeks.
Water early in the morning. Less evaporation, and plants have water for the hot afternoon. Avoid running drip constantly in short bursts; deeper, less frequent watering grows deeper roots.
Maintenance
- Flush the lines by opening the end caps for a minute at the start of each season.
- Clean the filter every month or two in summer.
- In cold climates, drain the system and bring the timer, filter and regulator inside before the first hard freeze.
- Check emitters a few times a season; a clogged one is easy to swap.
Our top 5 drip irrigation kits
Prices change often, so check the store for today's price.Rain Bird Landscape and Garden Drip Watering Kit
A rugged, well-rounded kit from one of the best-known names in irrigation. The components are easy to configure for beds, borders and shrubs, which makes it a great first system.
- Quality, durable fittings
- Flexible for many garden layouts
- Clear instructions
- Downside: Add a timer separately for full automation
How to use it: Start with the head assembly at the faucet, lay the mainline along your beds and add emitters to each plant.
Raindrip Automatic Watering Kit with Timer
A budget-friendly kit that includes a timer and can water up to about 20 containers, perfect for a patio or balcony garden.
- Timer included
- Great for pots and planters
- Affordable
- Downside: Better for containers than large beds
How to use it: Run the tubing behind your pots and add one dripper per container. Set the timer for early morning.
Vego Garden Raised Bed Irrigation Kit
Designed specifically for raised beds, it gives neat, localized watering that integrates cleanly with modular metal beds.
- Made for raised beds
- Tidy installation
- Even watering across the bed
- Downside: Best value if you already use Vego beds
How to use it: Lay the lines across the bed every 12 inches and connect to a hose timer.
Orbit Shrub and Flower Bed Drip Kit
Adjustable bubblers and drippers cover wide flower beds and shrub borders efficiently.
- Adjustable flow for different plants
- Covers larger areas
- Easy to expand
- Downside: Bubblers need checking after installation to avoid runoff
How to use it: Put larger-flow bubblers at shrubs and small drippers at perennials, then mulch over the tubing.
Linkable soaker hose (100–200 ft)
If drip fittings feel fiddly, a soaker hose weeps water along its whole length. Lay it on the soil, connect a hose timer and you are done.
- No emitters or fittings
- Very affordable
- Easy to hide under mulch
- Downside: Less precise than drip emitters
- Downside: Uneven on slopes or long runs
How to use it: Snake it through the bed within a few inches of each plant and keep runs under about 100 feet for even watering.
FAQ
Can drip irrigation run from an outdoor faucet?
Yes. Most home kits are designed to connect to a standard outdoor faucet or hose, with a pressure regulator and backflow preventer at the start.
Can I use drip irrigation with rainwater?
Yes, with a low-pressure drip kit designed for gravity feed. Raise the rain barrel at least a couple of feet and use a good filter.
Will drip irrigation work in clay soil?
Yes. Clay holds water and spreads it sideways, so you can space emitters a little wider and run them longer but less often.
How long does drip tubing last?
Quality polyethylene tubing usually lasts many years, especially when covered with mulch to protect it from sunlight.